DIY Clay Coasters

November 10, 2015
I’ve never owned a set of coasters. Honestly, I always thought they were somewhat obsolete. One of those things you have but only use when you have company over and want to impress them. But I’ve changed my mind! These coasters are my and my pallet coffee table’s new best friends. And when just any old coaster won’t cut it, what do you do? DIY that sh*t.
Clay coasters turned out to be the perfect solution for me. With white clay I was able to make them any size and shape I wanted, plus I had a blank canvas on which to put anything I pleased. You could, of course, go with any color that fits your style and could even create a marble effect by using two colors.
These particular coasters were inspired by blue porcelain china, one of my favorites. Let your imagination go wild with this project. Do any design that suits your fancy. These coasters are easy to make and can completely be customized to fit YOU.
Note: I sealed mine with clear semi-gloss polyurethane spray, which has a yellow tint to it. If you are going to use white clay, be mindful that it may change the color of the finished product ever so slightly. You could forgo this process all together if it’s an issue.
Total Cost: $8-$15
Total Time: About 30 minutes, not including baking and drying time
Materials:
- Polymer clay (4 to 5 – 2 oz. blocks or 1 – 8 oz. block)
- Mason jar ring (or other round object)
- Exacto Knife
- Fine-tip paint brush
- Rolling pin
- Clear semi-gloss polyurethane
- Adhesive felt
- Acrylic paint
- Parchment paper
Step 1: Roll out the clay
Lay out a piece of parchment paper so the clay doesn’t stick to your surface. Using a rolling pin, roll out a golf ball-sized chunk of clay until it is about 1/4 inch thick.
Step 2: Cut out the coaster shape
Place the Mason jar ring on the rolled out clay and press down very gently. Using an Exacto knife, cut around the Mason jar ring. Remove the excess clay from the outside.
Step 3: Smooth out the edges
Use your finger to smooth out any rough edges. Then, repeat steps 1-3 until you have 4-5 cut out coasters.
Step 4: Bake the coasters
Lay the coasters out on a baking sheet lined with parchment paper. I baked this Sculpey clay at 275 degrees F for 15 minutes (per 1/4 inch of thickness), but be sure to follow the instructions on the clay package for temperature and bake time. Remove baking sheet from oven and let cool for 10-15 minutes.
Step 5: Paint the heck out of your coasters
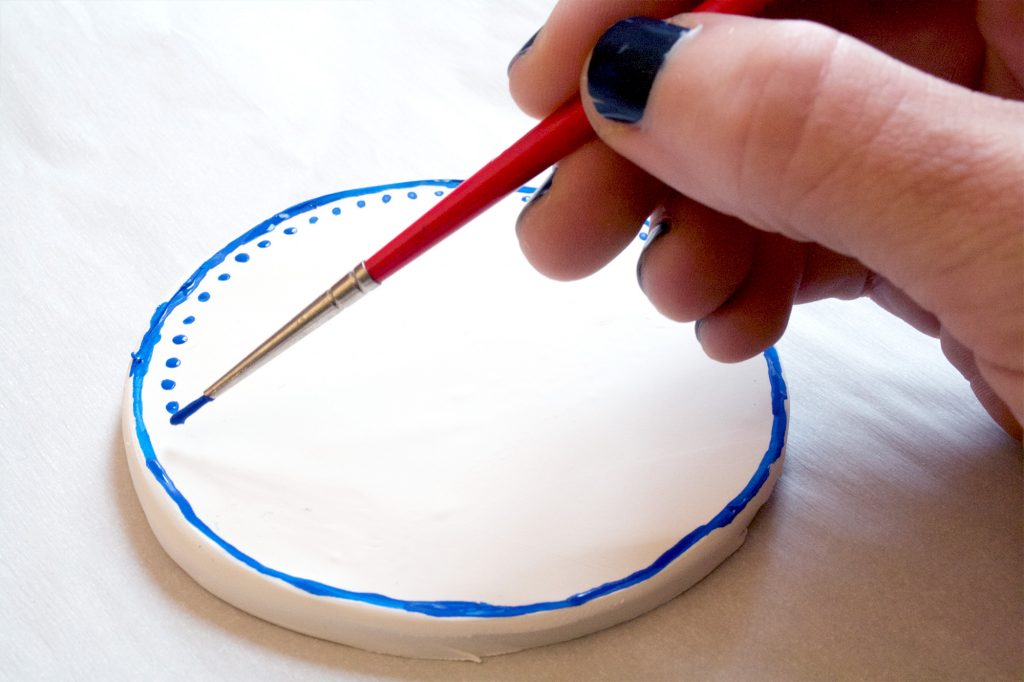
Using a fine-tip paint brush, paint designs onto the coasters. Use your imagination and don’t worry about following a certain pattern. I found my best coasters were ones that had a solid line on the outside. I also thought the dots and the flowers turned out great. Let the paint dry completely (about 15 minutes).
Step 6: Seal the coasters
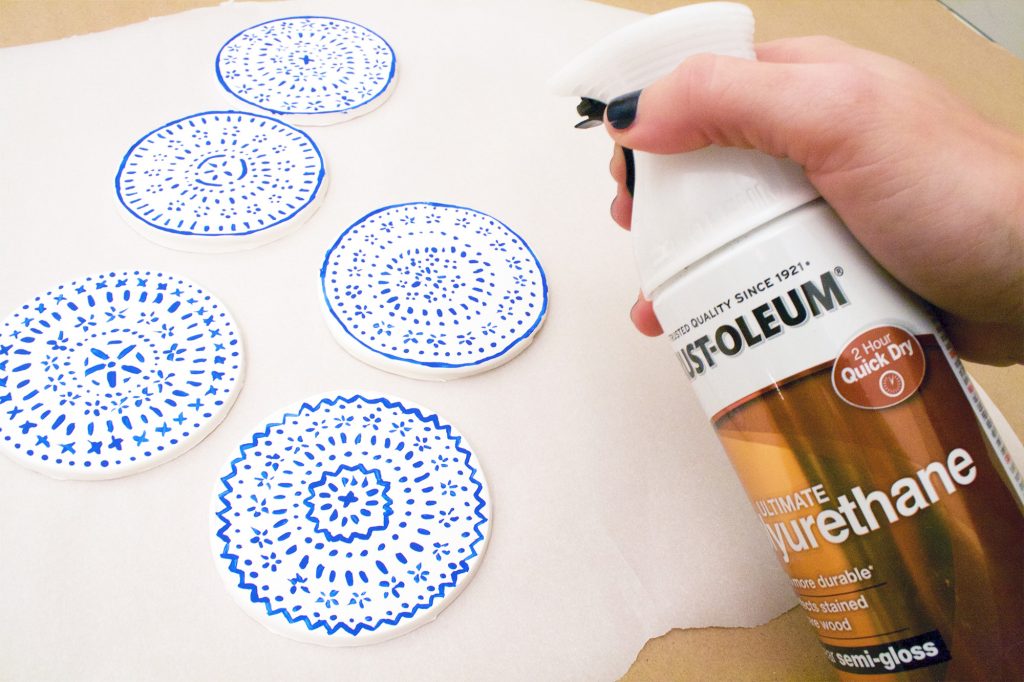
Seal the coasters by using spray, clear semi-gloss polyurethane or any other sealer you are partial to. As I mentioned before, the polyurethane will have a yellow tint to it, so you may notices some off-white spots on your white coasters. This didn’t bother me much, as I could barely see them, but if it will bother you then don’t worry about this step or use a different sealer.
The spray can says this is a “2 Hour Quick Dry” sealer but it took several hours for the tackiness to go away. I suggest letting them dry overnight.
Step 7: Cover the bottoms with felt
On the back (paper) side of the adhesive felt sheet, trace each coaster with a pencil. Then, cut out each shape, cutting just inside the line you drew (you want the felt to be slightly smaller than the coaster). Peel back the paper and adhere to the bottoms of the coasters.
Did you make your own clay coasters? I want to see! Post a link to your project in the comment section.
*This post originally appeared on my former blog, Kept. While that blog has since retired, all the content transferred is up-to-date and my own.


